VectaPlex Antibody Removal kit is a ready-to-use kit designed to remove antibodies and other non-covalently bound detection reagents from formalin-fixed paraffin-embedded (FFPE) tissue sections in immunofluorescence or tyramide signal amplification staining workflows.
VectaPlex simplifies sample processing for manual workflows, accelerates multiplex assay optimization, preserves precious sample, and maintains tissue integrity and morphology through multiple cycles of antibody binding and removal.
Benefits
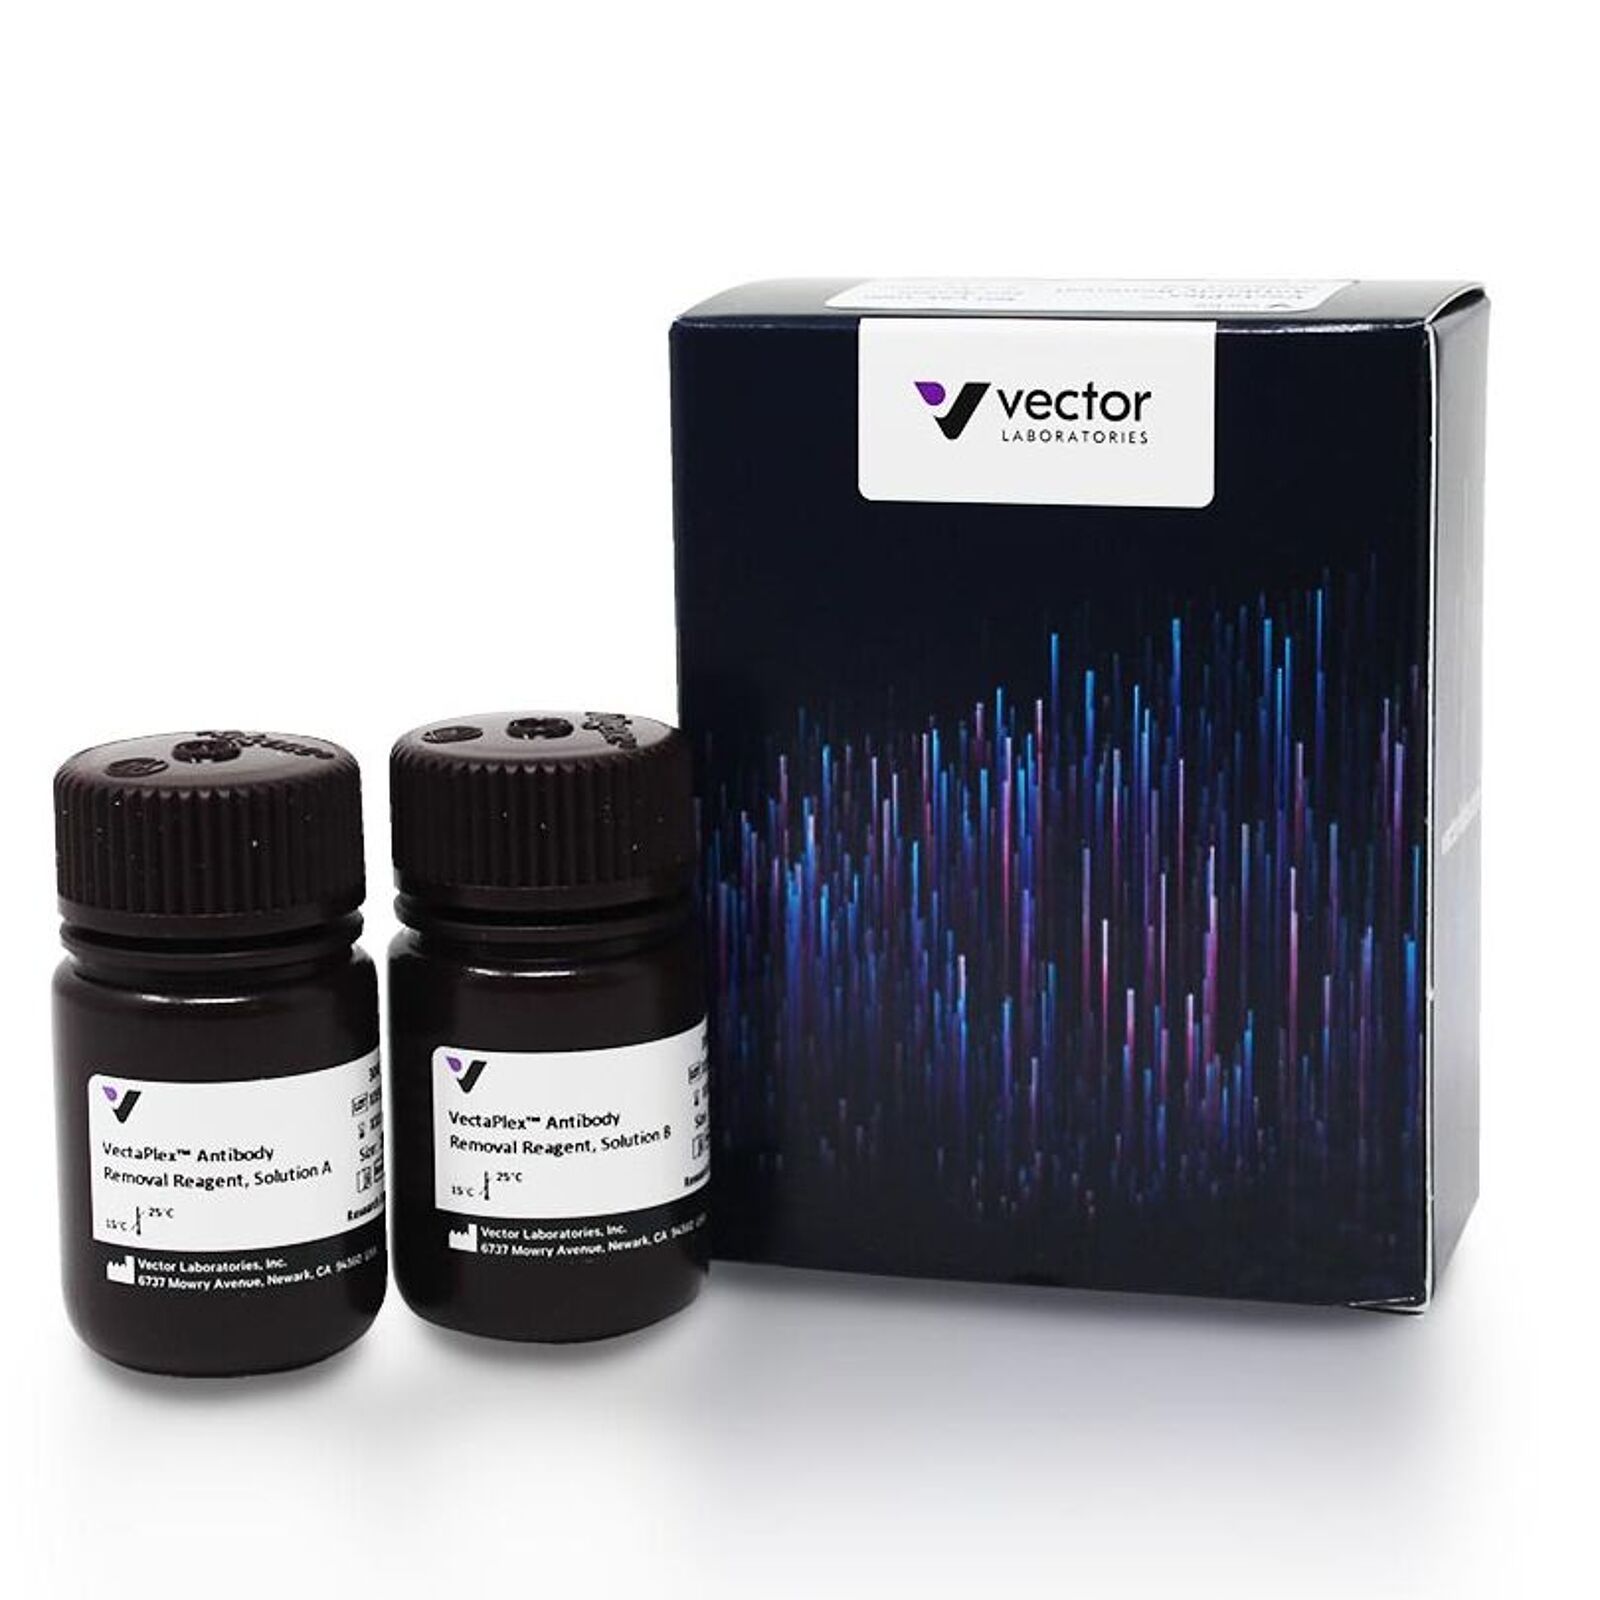
- VectaPlex ™ Antibody Removal Kit (SKU: VRK 1000) contains two bottles:
- VectaPlex ™ Antibody Removal Reagent A
- VectaPlex ™ Antibody Removal Reagent B
- Removes antibodies and other non covalently bound reagents from FFPE tissue sections after staining
- Minimal tissue damage: Preserves tissue integrity and antigenicity through at least 6 rounds of antibody removal
- Enables up to six rounds of staining for multiplex immunofluorescence and tyramide workflows
- Unlike competitive workflows, the VectaPlex kit is ready to use and does not require a damaging heating step
| Cat-No. | Item | Size | Price (CHF) |
|---|---|---|---|
| VRK-1000 | VectaPlex Antibody Removal Kit, 1 kit | 1 kit | 396.00 |
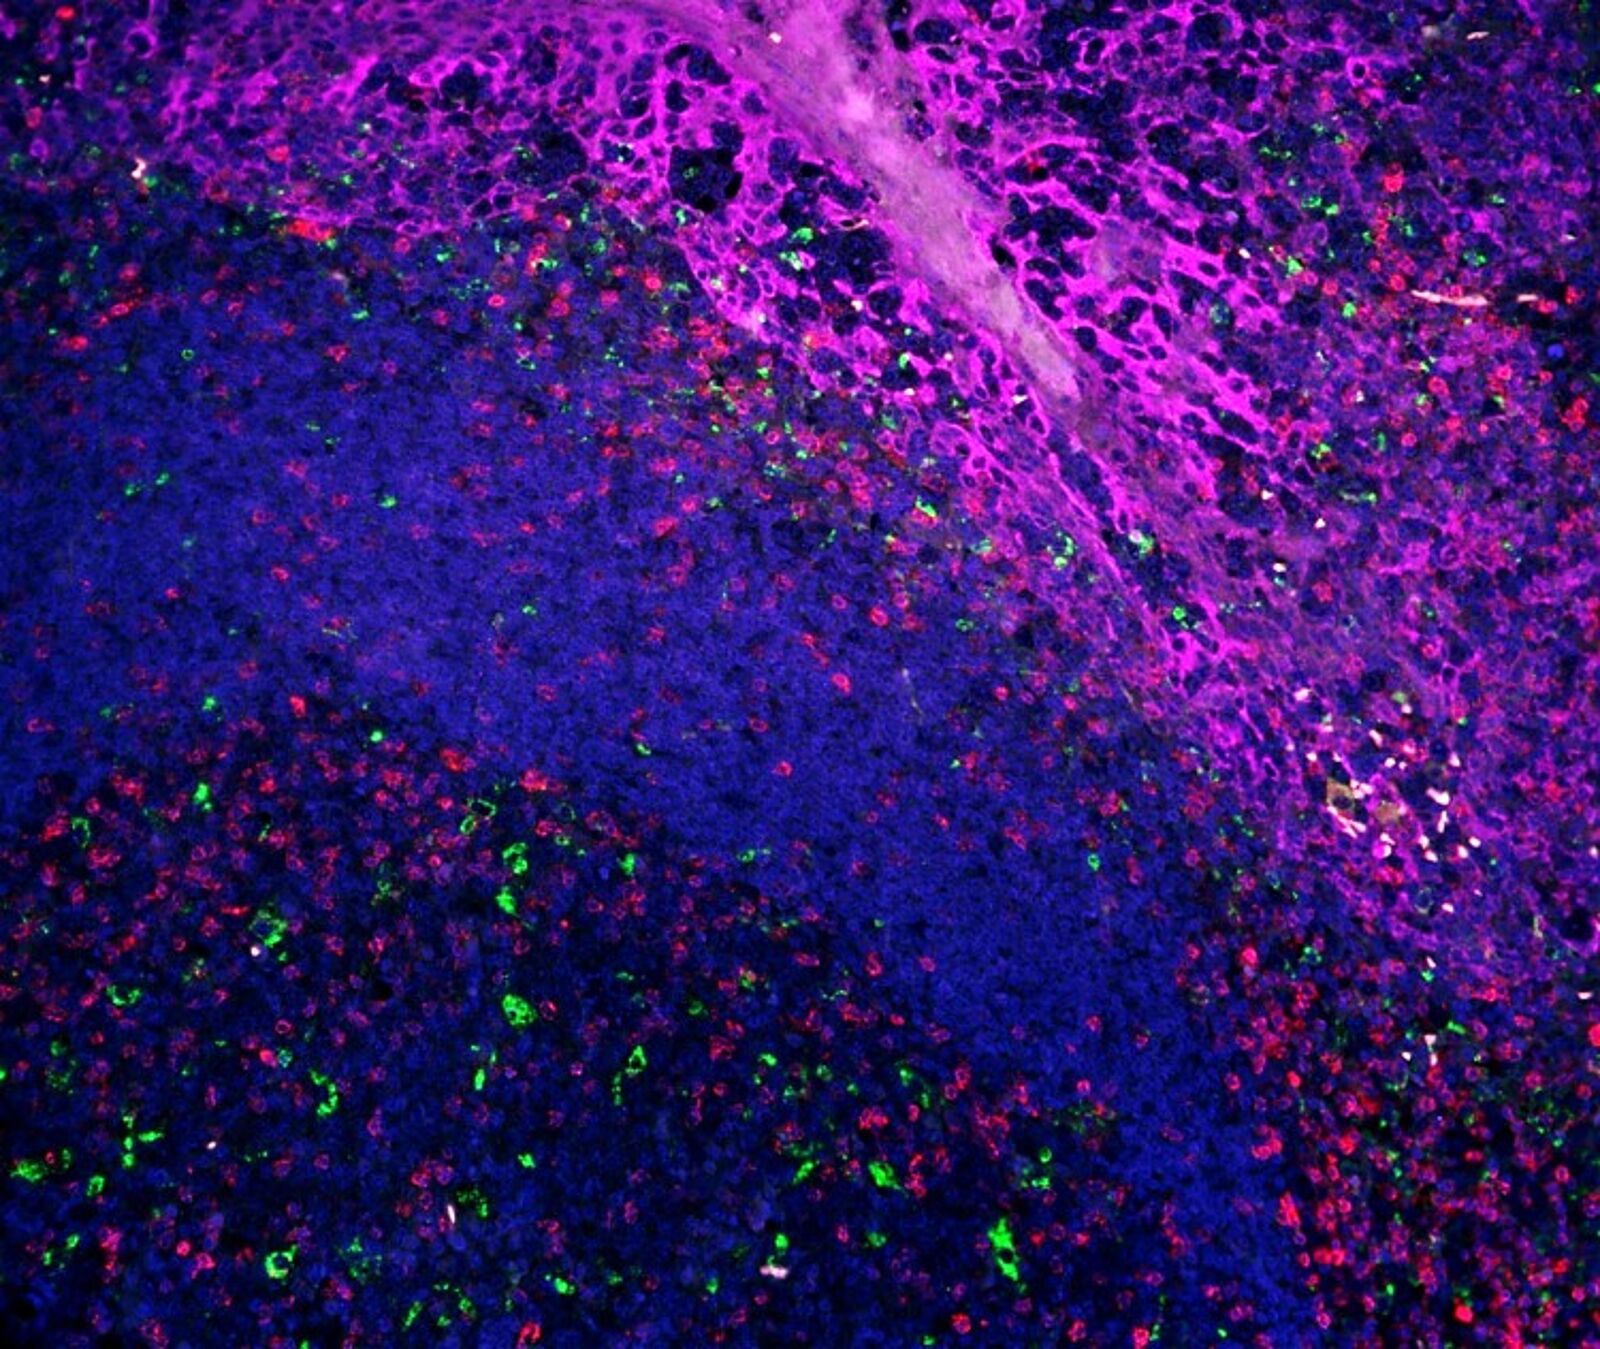
Align & overlay images
- Immunofluorescence workflow: 6-plex, compiled using Fiji-Image J software
- FFPE Stomach
- All Mouse Primaries
- TrueView autofluorescence quenching reagent used on all slides
| Marker | Image Color |
| CD20 | Red |
| CD34 | Yellow |
| DES | Cyan |
| AE1 / AE3 | Magenta |
| CD3 | Gray |
| VIM | Green |
| DAPI | Blue |
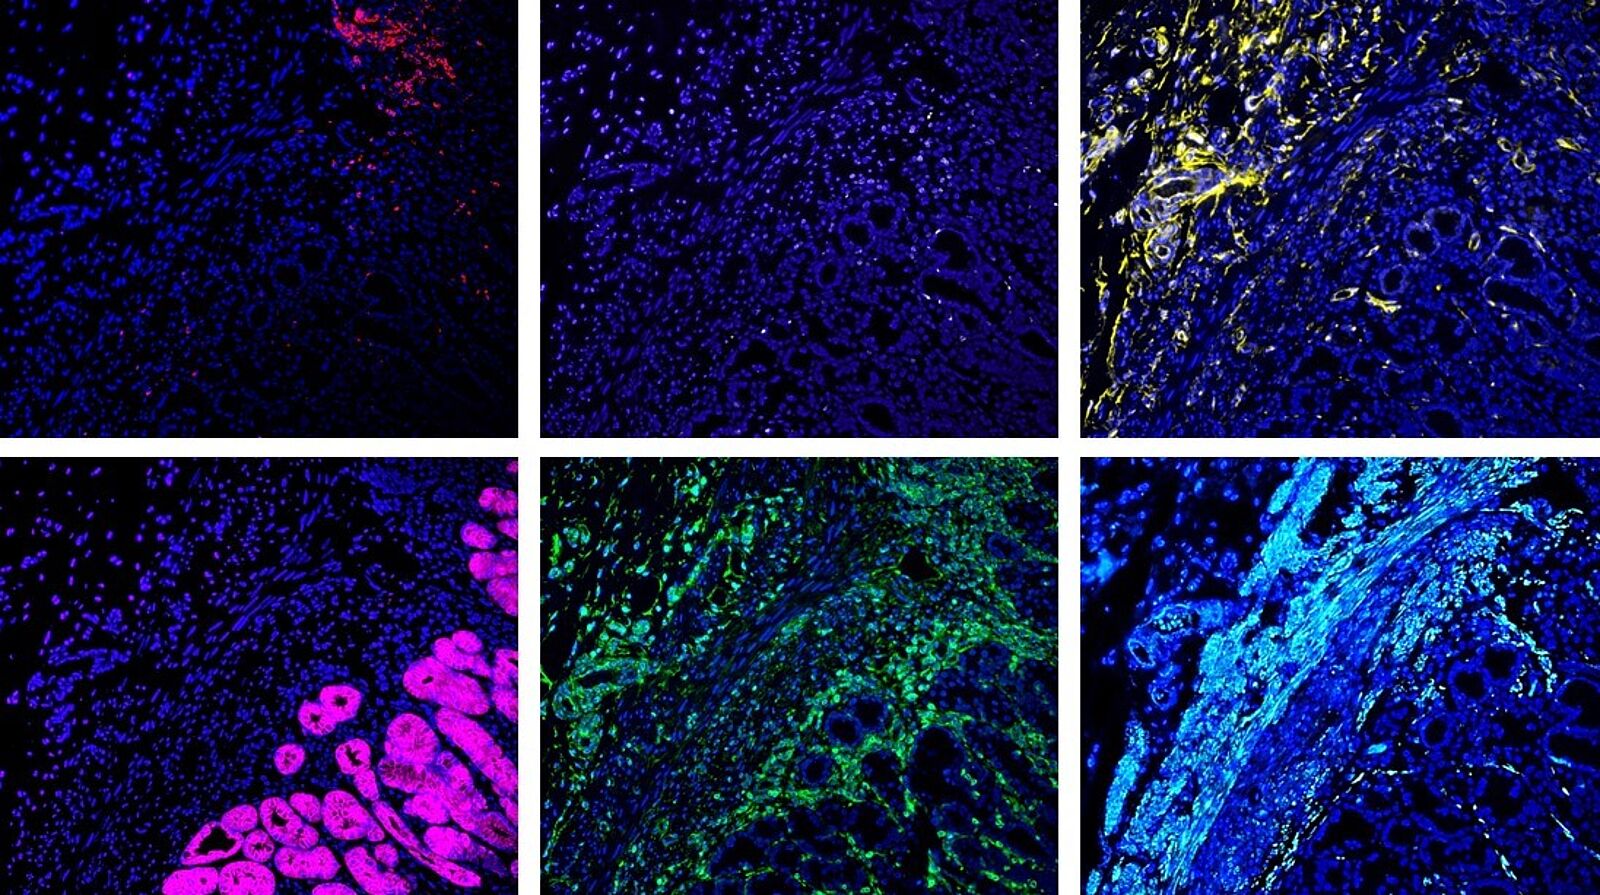
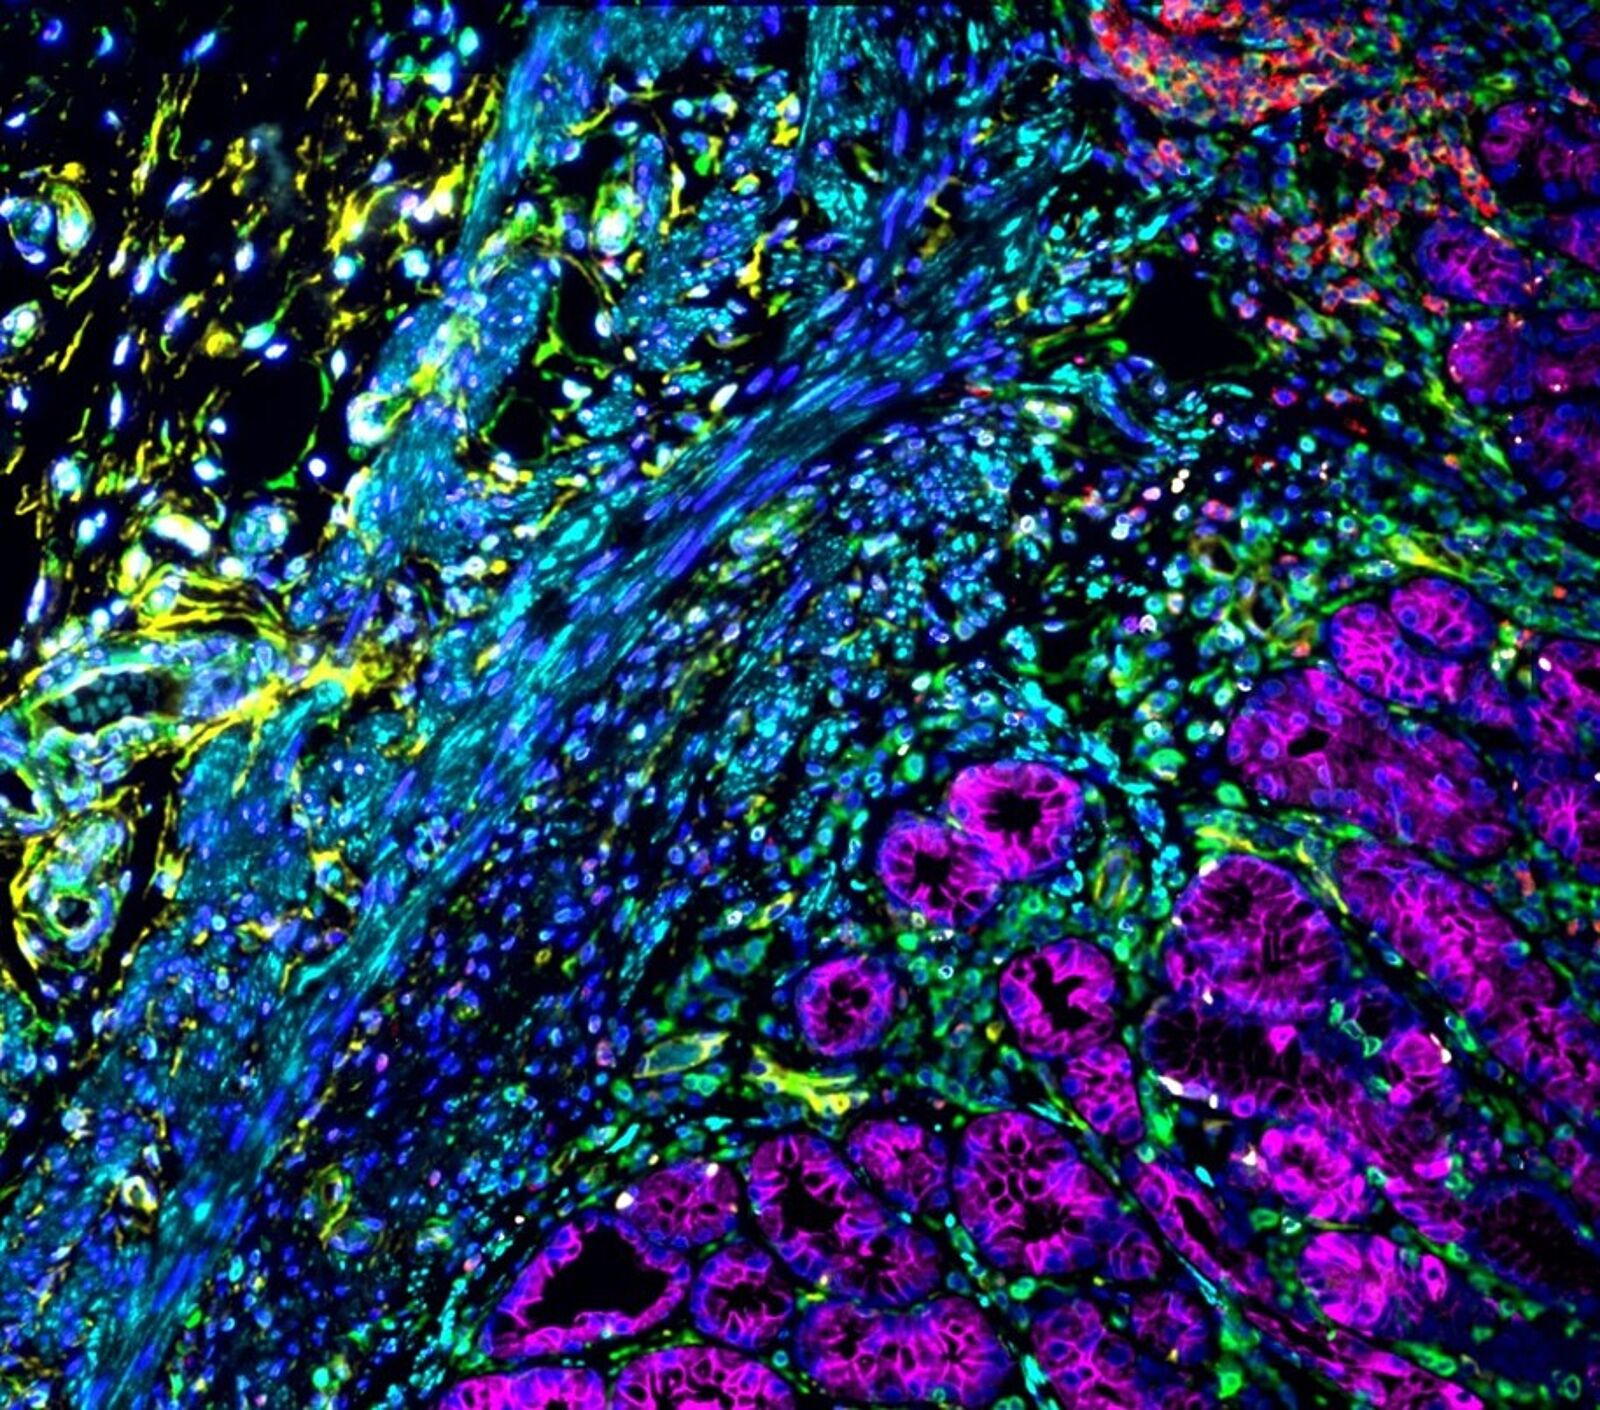
Minimal impact on tissue integrity

How to use VectaPlex™ Antibody Removal Kit
Multiplexing, a powerful technique that allows the visualization of multiple biomarkers within a single sample, has revolutionized the field by offering researchers valuable insights into the spatial context of complex cellular processes and interactions. By analyzing multiple targets in the same specimen, researchers can obtain a holistic view of their tissue while conserving precious sample. However, performing multiplex assays can be challenging. Cross reactivity between detection reagents can often limit reagent choices and circumventing this by directly labeling primary antibodies can lead to altered antibody function and loss of specificity. Thankfully, VectaPlex™ Antibody Removal Kit comes to the rescue, simplifying the multiplex workflow, preserving tissue integrity, and enabling multiple rounds of staining without reducing target availability.
VectaPlex Antibody Removal Kit is a versatile solution designed to remove antibodies and other non-covalently bound reagents from formalin-fixed paraffin-embedded (FFPE) tissue sections after staining in both immunofluorescence (IF) and tyramide signal amplification workflows. The kit’s gentle yet efficient removal process preserves tissue integrity and morphology through multiple cycles of antibody binding and removal, ensuring that it maintains the quality of the samples throughout the entire process. Read below on how exactly to use the VectaPlex kit.
Option 1: Immunofluorescence Workflow
- Complete the standard immunofluorescence staining procedure, mount the slide with a non-hardening (non-setting) mounting medium, and image.
- Remove the coverslip from the tissue section and wash thoroughly with PBS to remove any residual mounting medium.
- Add VectaPlex Reagent A to cover the tissue section completely (typically ~ 150–200 μL) and incubate for 15 minutes at room temperature.
- Wash the slides briefly with PBS.
- Add VectaPlex Reagent B to cover the tissue section completely (typically ~ 150–200 μL) and incubate for 15 minutes at room temperature.
- Wash the slides with PBS for 5 minutes.
- The tissue section is now ready to begin another immunofluorescence staining procedure with a protein blocking step followed by the next round of antibody staining, mounting, and imaging.
- Continue repeating these steps until you have detected all desired antigens.
Note: We recommend using a mounting medium containing DAPI during each staining cycle for the IF workflow to facilitate image alignment.
Note: You can register and overlay images from successive staining cycles using free software such as Fiji.
Option 2: Tyramide Signal Amplification Workflow
- Complete the standard tyramide signal amplification staining procedure.
- Add VectaPlex Reagent A to cover the tissue section completely (typically ~ 150–200 μL) and incubate for 15 minutes at room temperature.
- Wash the slides briefly with PBS.
- Add VectaPlex Reagent B to cover the tissue section completely (typically ~ 150–200 μL) and incubate for 15 minutes at room temperature.
- Wash the slides with PBS for 5 minutes.
- The tissue section is now ready to begin another fluorescent tyramide signal amplification staining procedure using a differently colored dye.
- Repeat these steps until you have detected all desired antigens.
- After completing the staining process, mount the tissue sections and capture images.
It is important to note when using the VectaPlex reagents that mixing with bleach may result in formation of a hazardous gas. For this reason, do not mix reagents or waste solutions from this process with bleach, and use reagents in a well-ventilated area using appropriate laboratory personal protective equipment (PPE).
Frequently asked questions
Are there limitations to the effectiveness of the product due to thickness of tissue?
We anticipate that the VectaPlex™ reagents should penetrate to the same depth as the antibody probes being used to stain the tissue. The tissue thicknesses we examined ranged from 4 to 6 um. At these thicknesses we did not see any limitation to the effectiveness of VectaPlex™, but we have not tested thicker sections.
When using VectPlex on IF samples, does the intensity of any autofluorescence stay or is that also stripped?
VectaPlex™ does not appear to reduce autofluorescence background.
If TrueView is used will that also be stripped by VectaPlex reagents?
We used TrueView in our VectaPlex™ IF workflow to suppress autofluorescence. Application of VectaPlex™ at each cycle removes some but not all the TrueView reagent. Since some TrueView remained after VectaPlex™ application, we did not add TrueView in every cycle, but only as needed to suppress autofluorescence.
Do Vector have any protocol for removal of coverslips?
We recommend using VectaShield® Plus with DAPI, which is a non-setting mounting medium. After each imaging cycle, the coverslip can be easily removed and the residual VectaShield® Plus removed with a PBS wash. The use of DAPI staining helps with alignment of multiple images during subsequent data processing.